Resume Maker
multiple stunning templates. Live preview. Print to PDF or publish to GitHub Pages - all free.
How to Use
Pick a Template
Choose from 4 styles. Or paste your own HTML template with {{tokens}}.
Fill in Your Details
Add personal info, experience entries, education, and skills.
Print or Deploy
"Print / Save as PDF" opens your browser print dialog - set destination to "Save as PDF". Or deploy to GitHub Pages for a live URL.
FAQ
More Tools
Practical tools you can rely on every day.
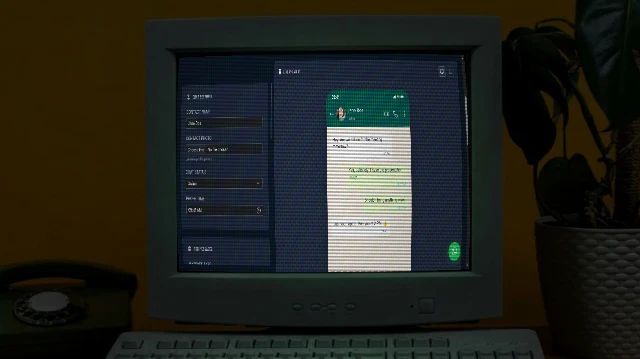
WhatsApp Chat Mockup Generator
Create realistic WhatsApp conversation mockups with custom messages, images, and voice notes. Perfect for presentations, marketing, or social media content.
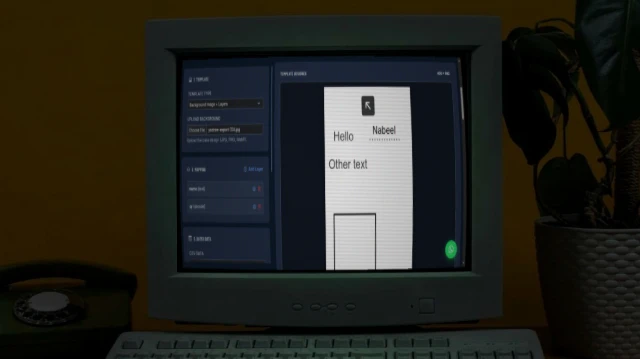
Bulk Card Studio
Generate bulk cards, certificates, or social media graphics. Upload an image or HTML/SVG template, map CSV data to placeholders, and export as high-quality images or ZIP.
Text to Speech
Free and unlimited Text-to-Speech tool with advanced voice selection, pitch, and rate control for professional voice-overs.
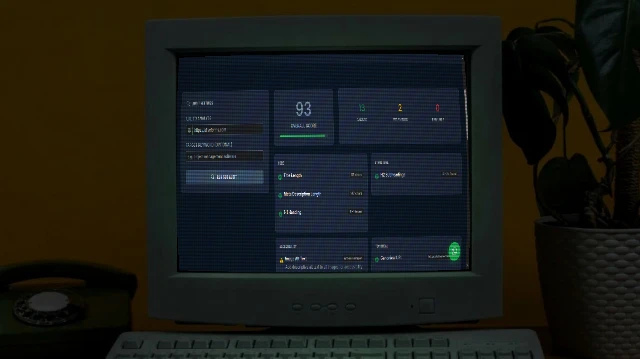
SEO Analyser
Audit on-page SEO in seconds. Checks title tags, meta descriptions, H1/H2 structure, Open Graph, schema markup, mobile viewport, and more - with actionable fix suggestions.

Merge PDF
Merge multiple PDF files into one document. Rearrange pages, sort files, and download the combined PDF. 100% free and private, no uploads needed.
Contact Card Maker
Build a professional vCard (.vcf) with a scannable QR code and a beautiful contact page. Download the VCF, share the QR, or publish your contact page to GitHub Pages free.